Sunday, August 26, 2012

Gemma is Two!!

This post is a few weeks late, but it's been a busy few weeks as always!! I can't believe my baby girl turned two on August 13th!! She's getting so big and smart, daring and darling all at the same time. 

For her actual birthday, we took her out to pizza (her favorite) and ice cream of course! She was so excited to go she was dancing by the door!


Yes, she insisted on wearing her cupcake socks. With her sandals. 


Then last weekend we threw her a little artist party to celebrate her creativity (and get in touch with mine a bit). I seriously had way too much fun with this theme!! 


The inspiration for the whole party :)

Gotta love the  rainbow fruit kabobs!
Colorful veggies!
The spread :)
Okay so there were five kids total including Gemma, ages ranging from about 1-4. I knew I wanted to have some sort of activity for them to do, but it had to be age-appropriate and captivating enough for the age range. After all of ten seconds of thinking - it came to me - Finger Painting!! Perfect. We had one organized part of the craft where they made hand prints on a white foam board, then they got to move to just sheer fun on a big old piece of white paper (secret - it was a roll of wrapping paper I got for 99 cents, flipped over to the white side!) Needless to say, the kids had tons of fun with this!
The foam board handprints!
Those giant handprints are actually mine - oh yes, Momma got in on that action!


Hmm... does it work the same on my arm? Yup!


Annnnd then we had some water fun to get them all clean! Gemma, well, she takes after her daddy. Apparently getting her hands wet was not sufficient. Full immersion was required.


After everyone got all cleaned up and dried off (and changed back into party tutus!), it was present time. Gemma is now FULLY stocked with enough art supplies to last her years!! Thank you everyone for your fun and creative gifts! 


Then it was dessert time!!! Okay, so my original plan for dessert, since we weren't have a million people over, was just the cookie cake and the artist palette cookies (oh yea, they're cool). But then when I was grocery shopping, I saw this tray of cupcakes with the crayon decals for only $8!! Steal!! It fit way too well with the theme to pass them up :)


I don't know if you can read those, but double bonus (I SERIOUSLY could not say no to these!) - the colors are written in English AND Spanish!!! Thank you!!
Homemade cookie cake!! I'm not much of a cake decorator though - please don't judge!! haha

Time for the birthday girl to blow out her candles!!


Kind of scared of the fire...
Bored? Entranced? Unimpressed? :P
She blew them out all by herself!! :):)

All in all, we had an amazing time celebrating two years full of joy, blessings, fun, and love with our precious little Gem. Love you baby!!!

Saturday, June 9, 2012

Why Gemma is "Still" Rear-Facing


Something that may seem like a minor decision in the long list of decisions parents make about their children's safety is when to turn their child car seat from rear-facing to forward-facing. While it may seem like a minor decision, it can actually significantly impact the well-being of your child in the unfortunate even of a car collision.

Lots of people raise their eyebrows when they find out my almost 2-year old is still rear-facing in her car seat and that I don't plan on turning her around anytime soon. Car seat safety is something that is ever-evolving, so the level of car seat safety "we grew up with" is vastly different than what we presently have.


While I *understand* on a certain level a parent's desire to turn their child around (kid hates facing backwards, they can see their child, they can recline the front seats further without car seat interference, etc.), I have been exposed to a lot of research that has convinced me to keep Gemma rear-facing as long as possible. There are "minimums" on car seats (ex. - Child must be AT LEAST one year of age AND ___lbs before turning around to be forward-facing. Weight minimums vary by manufacturer) and there are "maximums" on car seats as well. These are set by weight and height of the child according the specific car seat/manufacturer.

I prefer to keep Gemma rear-facing to the MAX in order to keep her as safe as possible for as long as possible. The truth is, if there were a way to keep every single person in the car rear-facing, there would be significantly fewer serious injuries and deaths due to collisions. Obviously, you can't drive a car while facing backwards so we do the best we can with safety. But the fact is, there is a lot we can do to keep our children as safe as possible while in a vehicle. 
Gemma is only 21 lbs and petite all-around. I know 6 and 7 month olds who are that same weight and no parent would dream of putting their 7 month old forward-facing, so why would I put my child who is the same size as them forward-facing just because she's older?

The answer is, I wouldn't and I won't. As much as it can be an inconvenience for her and for us, her safety is more important than that. As parents, we do all kinds of things that are "inconvenient" for the sake of our child's health and well-being. How easy is it to brush your toddler's teeth? Or clip their nails? Or get your preschooler to eat all her vegetables? Or constantly monitor your baby while she's in the kiddie pool? Not all aspects of parenting are easy or fun, but when it comes to health and safety, no amount of sacrifice on our part is too much, if it keeps them safe.

Here's a quick video which does a good job of briefly discussing some of the major reasons to exercise the highest level of car seat safety. If you find it educational, I assure you, there are hours more that you can spend watching and reading up on car seat safety! :)


Tuesday, May 22, 2012

How To Build a Backyard Garden Bed


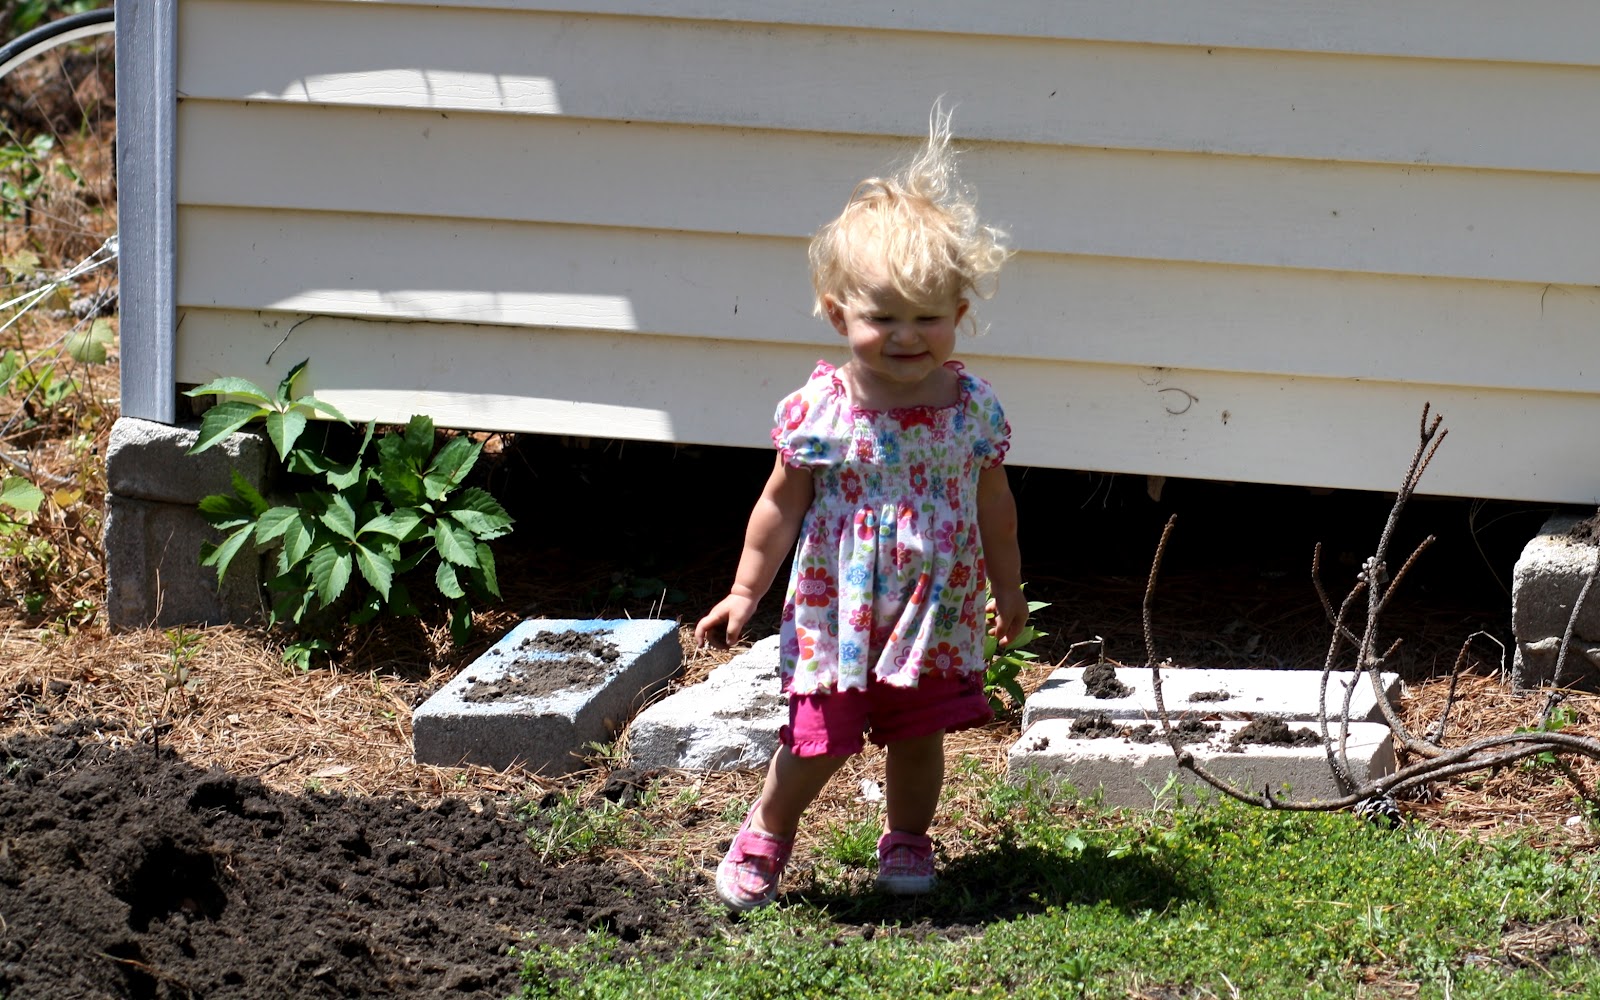
My Mother's Day gift this year was this gorgeous backyard garden bed built and planted by my hubby (with help from little Gem of course!).

So, I decided to do a post with a step-by-step guide of how to build your very own garden bed!
One very important thing you need you need to know before you get started: You need to pick a spot in your yard that gets at least 6-8 hours of sunlight a day. Once you found your sweet spot, get ready to rumble! Here we go:

Step 1: Find an Old Bed Frame
Check your local yard sales, craigslist and freecycle. And just keep your eyes peeled as you drive around town. Rocky picked this up off the curb of a house a few streets over! Score!


Step 2: Outline your garden area (according to the measurements of what size frame) you got with spray paint.
This is so you know what area you'll be digging up. No reason to dig up more than you need to!


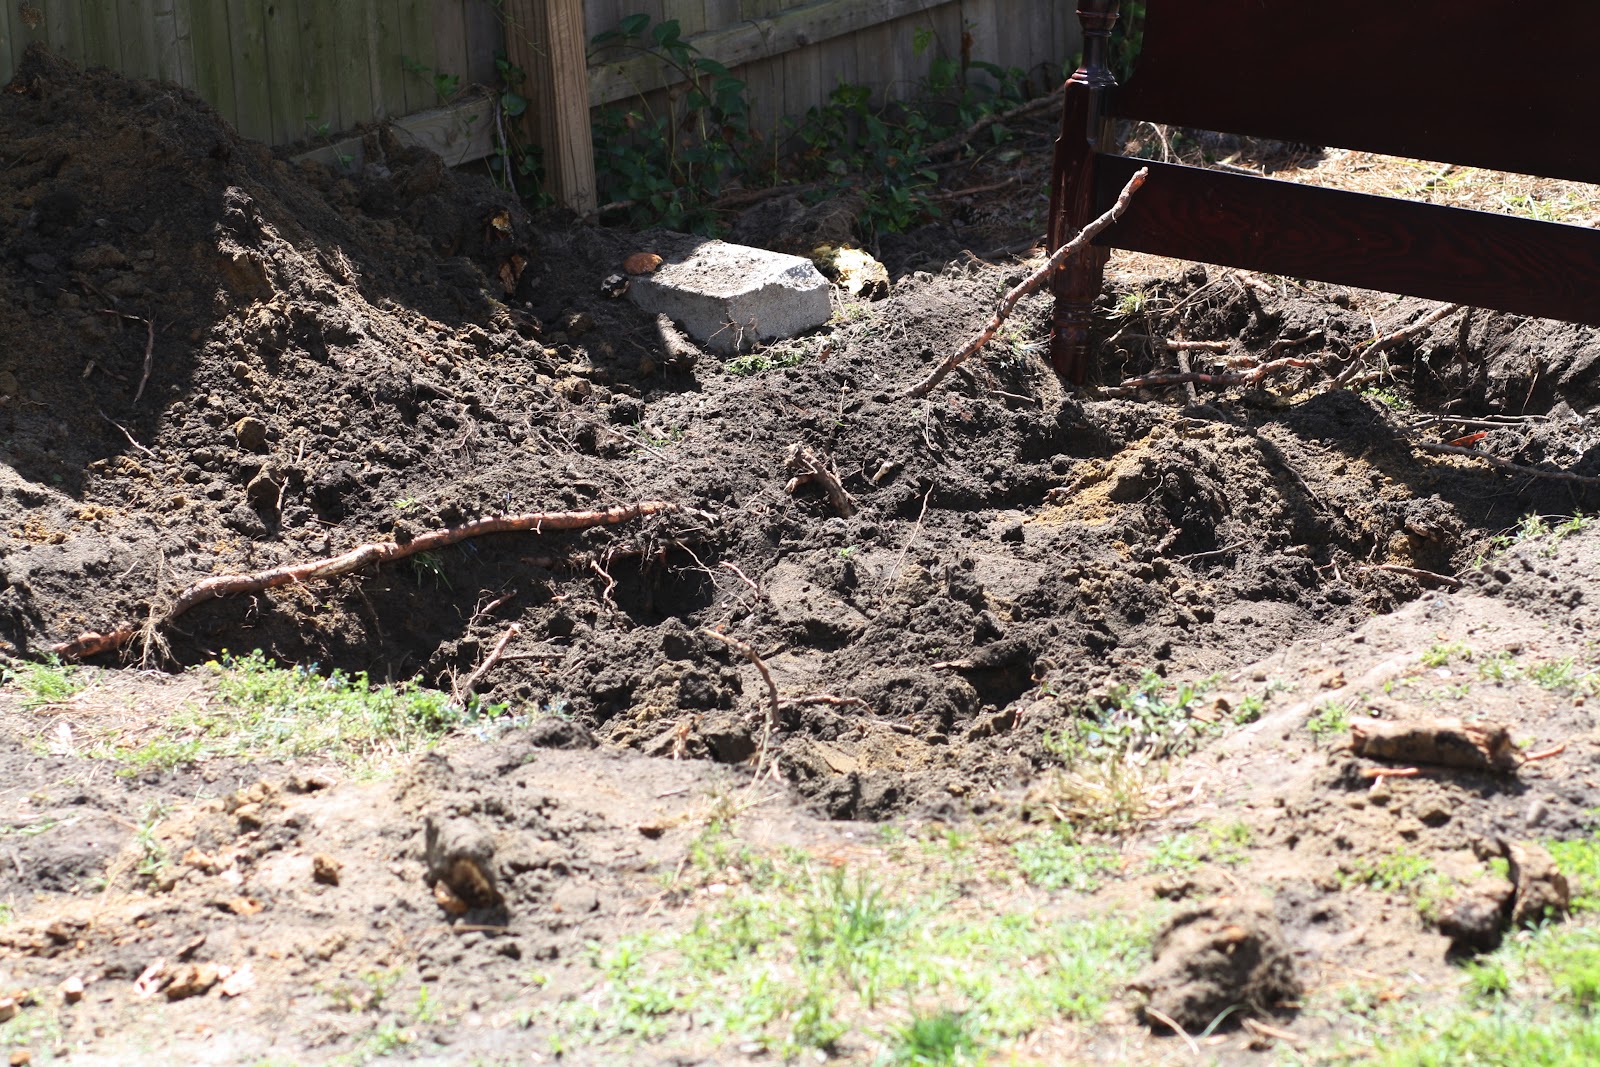
Step 3: Digging.
You'll want to dig up about a foot of soil. This aerates and softens up the soil so you can mix it better with your topsoil and fertilizer. This step is also so you can sift out any large rocks and roots you have down there. You definitely don't want any roots down there suffocating the soil and hogging all the water. This is definitely the most gruntworky step of the process :)


Step 4: Place your bed frame in to border your garden area.
During this step, you want to be sure that the frame is even and level. Take the extra time to ensure each side is as even as possible - Rocky even busted out his level to do this! It's important because in order for your garden to thrive, you need the water to distribute and drain evenly. Fill in garden area as well as any gaps surrounding the frame with the soil you removed earlier that has now been sifted. 


Step 5: Add in Topsoil, Humus, and Manure. 
Fill in the whole garden area with manure and humus. (We got our manure and humus already mixed). You want to mix these soils together with the original soil from before until they are all very well-blended. Even it out and then, finally, add your topsoil over the whole area. Again, level the area out nicely.


Step 6: Lay out your plants in your garden.
Take some time to plan this out properly. As for choosing what plants to grow - it all depends! It depends on your geographical location as well as what season you're in. Do lots of research before you get started. Depending on what you've decided to grow, you'll want to research how far apart to place certain plants, which plants thrive near one another, which plants are potentially harmful to others nearby, etc. Set the seeds and/or seedlings in the spots you've decided for them.


Step 7: Planting.
Now it's time to put your baby plants into their new homes. Each plant will require a slightly different depth, so follow the instructions for the individual plants.


Step 8: Give 'em a good watering.
As a welcome home gift, shower your new plants with lots of water! It's important to get a good soak into your soil, but of course, don't drown the little guys!


Step 9: Place protection around your garden.
Depending on what critters you have in your area, you'll want to decide what is the best plan of attack on defending your plants from hungry passers-by. Do some research on what garden predators you have in your area, and defend accordingly. For us, we decided the best plan was to surround our garden with a chicken wire to keep out the ducks, geese and rabbits. We kept it kind of loose and wobbly because it also protects against possums and raccoons - they try to climb up the wire but eventually their weight causes the chicken wire to flop backwards and they can't ever scale over the top.


Step 10: Step back and enjoy! 
Congratulations! You now have a backyard garden bed! Isn't it cute?! Now you have lovely task of simply caring for your garden on a daily basis. Have fun and happy gardening!


 May your garden be blessed and bear much fruit! :)

Wednesday, April 18, 2012

Positive Parenting

My little toddler is out-of-control adorable. 

I know you feel the same way about your own kids. Sometimes you look at them, and you're just like "WHY ARE YOU SO CUTE!?!?!?!?!" Because they are! And it's so amazing. But then, sometimes in the midst of them being out-of-control adorable, you realize they're acting downright out-of-control, hold the adorable. You know what kind of stuff I mean.

Insisting on ripping clothes off in the middle of Mass. Pulling poop out of her diaper and bringing it to you like it's a present, only to discover it's not chocolate. or peanut butter. Throwing rice all over the carpet. Climbing into the shower with you every. single. time. Pulling every last wipe out of the box and scattering them everywhere. The list goes on. Feel free to add your own in the comment section!

In a world like this, it's easy to slip into an endless reel of "No." "Don't." "Stop." "No." "NO!!" "Do not." "Stop it." "Noooooo!!!" and the ever-famous, machine-gun "N-n-n-n-no-no-no-no!!" These words play on as an endless playlist to your life, and with each new crisis, you're doing you're very best to not end up sounding and looking like this. So what can a mama do?

Something that's been helping me a lot lately is to focus on using "positive" commands with Gemma rather than the negative ones. So rather than just saying "Stop. Stop. STOP. Do NOT do that!" when I find her pulling every article of clothing she owns out of her drawers, I say something like "Gemma, put those clothes back in the drawer." Instead of telling her what NOT to do, I tell her what TO do instead.
Before I give the command, I also simply say her name "Gemma" and wait for her to meet my eyes, that way I know I have her attention. I've been doing this as often as I can and I have to say, it works waaaay better than just yelling "No!" every time she does something psycho. I think we were both getting to a point of being numb to that word!

So that's my advice. When you find find your child in the midst of chaos, try to hold back the negative commands, and offer a positive command instead. Here are some more examples:

"Do NOT pour your water out of that cup!" vs. "DRINK the water from the cup."
"Stop throwing those blocks" vs. "Hey, can you build me a tower with those blocks?"
"No hitting/biting/scratching/pinching/etc!" vs. "Gemma, show me how to do a gentle touch."
"Don't climb on the table" vs. "Sit in your seat like a big girl."

Now, I'm in no way saying this is fool-proof and works every time. HA! Ha. Ha ha to the ha ha ha. Toddlers and children still have a mind and will of their own and sometimes are testing it out on purpose. Of course there are times when the "No"s and "Don't"s are fully necessary. However, I do think it's better to rely on the positive commands for common usage, and rely on the negative commands for more serious matters.

It also helps to just keep your kids constantly distracted by an endless flow of fun things to do ;)


What are some of the crazier antics you've had to stop your kids from doing? Have you tried this type of "positive commands" parenting, and how does it work for your child?

Saturday, March 31, 2012

I Am Actually Alive

Contrary to what might be assumed by my extremely long bloggy absence, I wanted to assure you all that I am actually alive! I think my break was a combined result of needing some time to really heal from my miscarriage (emotionally and spiritually) as well as the fact that decreased internet usage is part of my Lenten sacrifice this year, so I've just been popping online long enough to briefly (like 10 minutes max) check my emails and FB. I don't count the hours I spent on TurboTax while I filed my taxes :)

Anywho, just wanted to say hi to everyone!! I'm looking forward to entering into Holy Week and finishing out this Lent with fortitude. God has truly stretched my heart this Lent and our relationship has changed... because I have changed in ways that allow me to open myself and surrender myself more fully to his Unchanging Love for me.

So as the Church prepares for Palm Sunday tomorrow, as we remember the crowds preparing the way for Jesus to enter into Jerusalem, I pray that we might all prepare the way for Jesus to enter into our hearts in a way which changes us, for the better.
Related Posts Plugin for WordPress, Blogger...