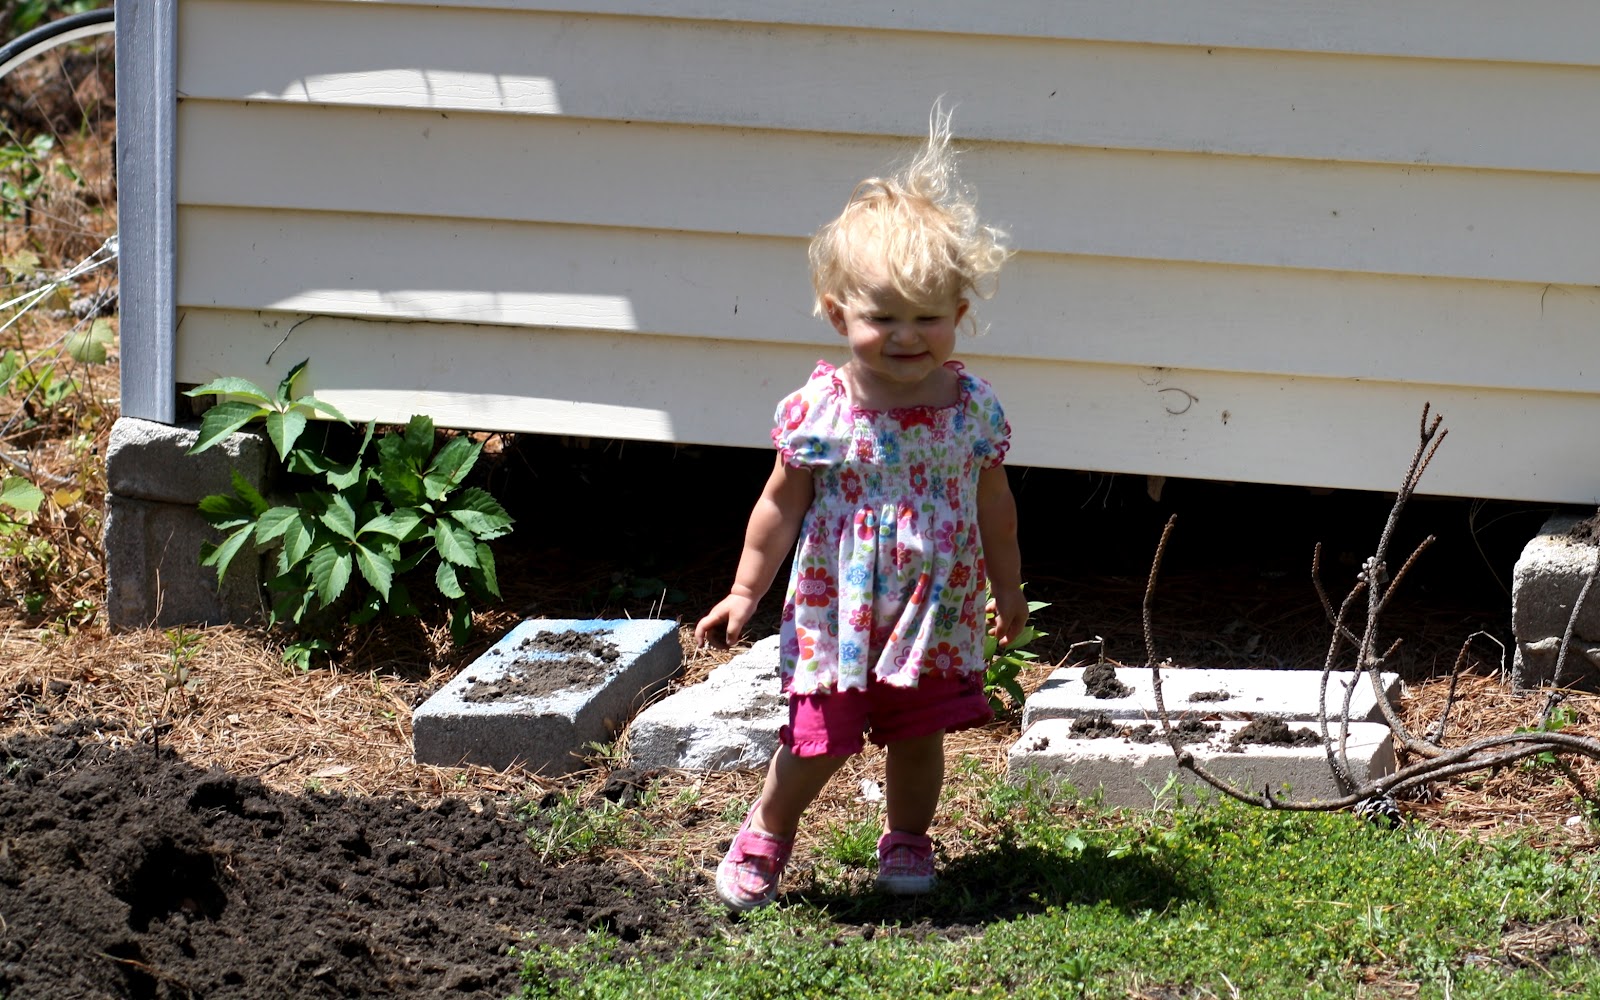
My Mother's Day gift this year was this gorgeous backyard garden bed built and planted by my hubby (with help from little Gem of course!).
So, I decided to do a post with a step-by-step guide of how to build your very own garden bed!
One very important thing you need you need to know before you get started: You need to pick a spot in your yard that gets at least 6-8 hours of sunlight a day. Once you found your sweet spot, get ready to rumble! Here we go:
Step 1: Find an Old Bed Frame
Check your local yard sales, craigslist and freecycle. And just keep your eyes peeled as you drive around town. Rocky picked this up off the curb of a house a few streets over! Score!

Step 2: Outline your garden area (according to the measurements of what size frame) you got with spray paint.
This is so you know what area you'll be digging up. No reason to dig up more than you need to!

Step 3: Digging.
You'll want to dig up about a foot of soil. This aerates and softens up the soil so you can mix it better with your topsoil and fertilizer. This step is also so you can sift out any large rocks and roots you have down there. You definitely don't want any roots down there suffocating the soil and hogging all the water. This is definitely the most gruntworky step of the process :)


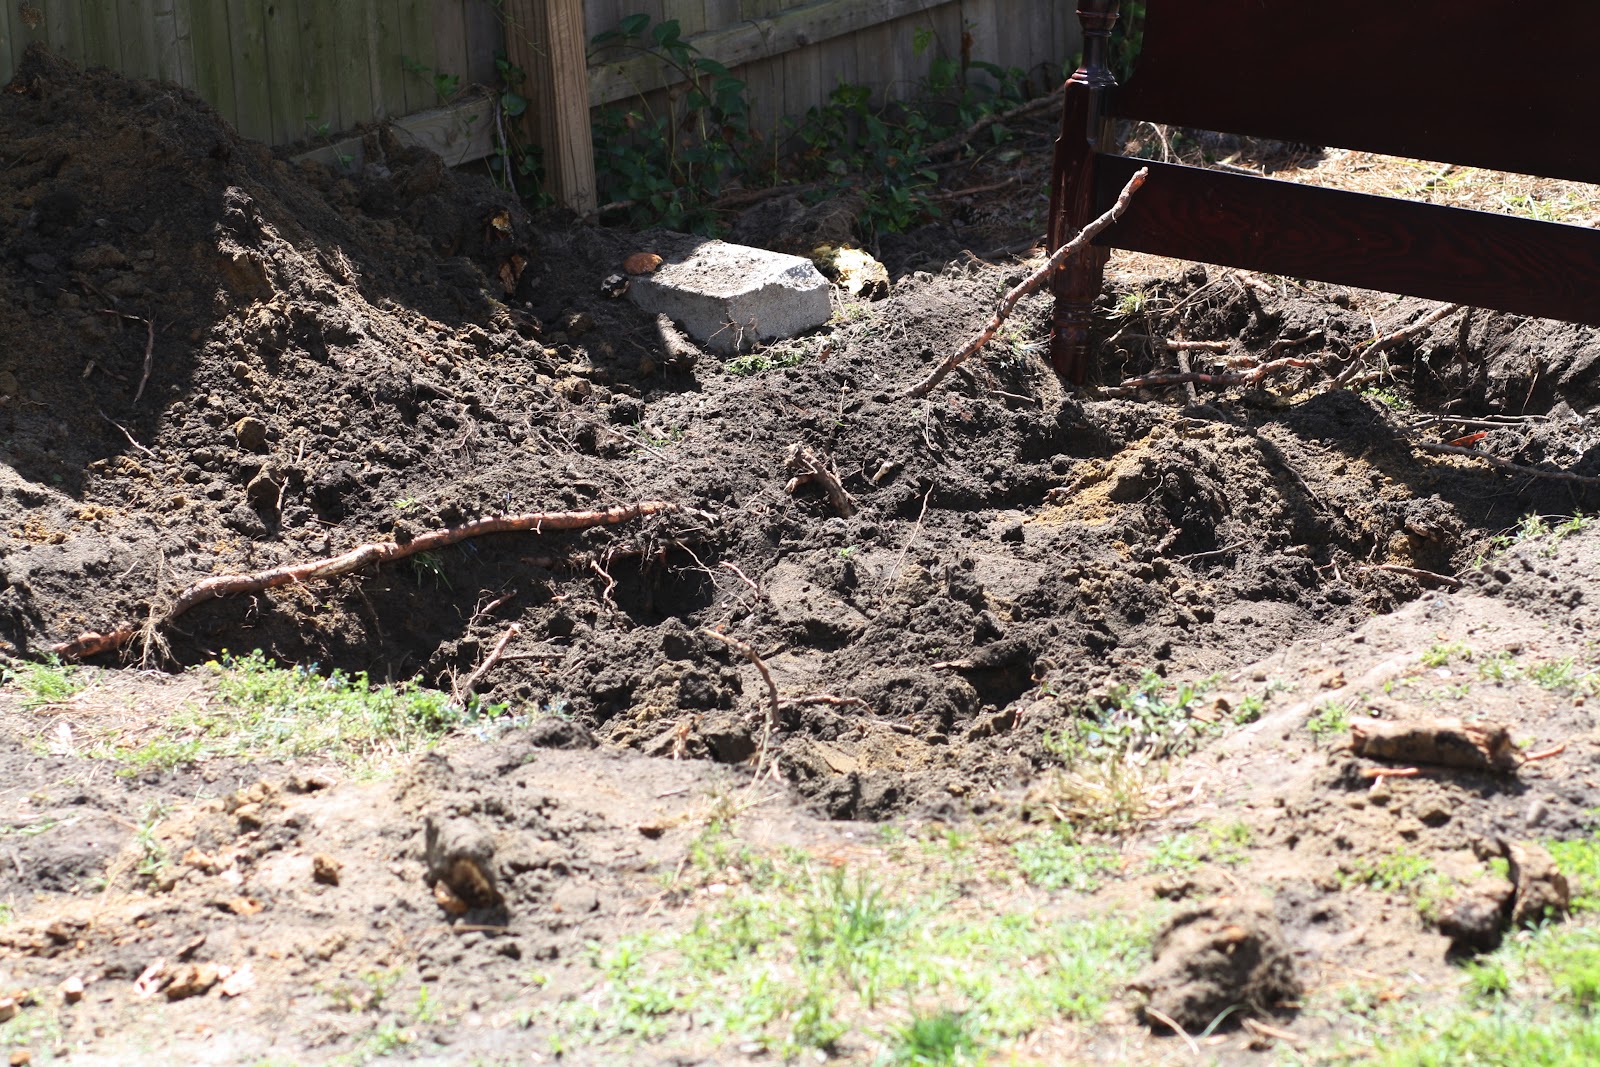

Step 4: Place your bed frame in to border your garden area.
During this step, you want to be sure that the frame is even and level. Take the extra time to ensure each side is as even as possible - Rocky even busted out his level to do this! It's important because in order for your garden to thrive, you need the water to distribute and drain evenly. Fill in garden area as well as any gaps surrounding the frame with the soil you removed earlier that has now been sifted.


Step 5: Add in Topsoil, Humus, and Manure.
Fill in the whole garden area with manure and humus. (We got our manure and humus already mixed). You want to mix these soils together with the original soil from before until they are all very well-blended. Even it out and then, finally, add your topsoil over the whole area. Again, level the area out nicely.


Step 6: Lay out your plants in your garden.
Take some time to plan this out properly. As for choosing what plants to grow - it all depends! It depends on your geographical location as well as what season you're in. Do lots of research before you get started. Depending on what you've decided to grow, you'll want to research how far apart to place certain plants, which plants thrive near one another, which plants are potentially harmful to others nearby, etc. Set the seeds and/or seedlings in the spots you've decided for them.

Step 7: Planting.
Now it's time to put your baby plants into their new homes. Each plant will require a slightly different depth, so follow the instructions for the individual plants.

Step 8: Give 'em a good watering.
As a welcome home gift, shower your new plants with lots of water! It's important to get a good soak into your soil, but of course, don't drown the little guys!


Step 9: Place protection around your garden.
Depending on what critters you have in your area, you'll want to decide what is the best plan of attack on defending your plants from hungry passers-by. Do some research on what garden predators you have in your area, and defend accordingly. For us, we decided the best plan was to surround our garden with a chicken wire to keep out the ducks, geese and rabbits. We kept it kind of loose and wobbly because it also protects against possums and raccoons - they try to climb up the wire but eventually their weight causes the chicken wire to flop backwards and they can't ever scale over the top.


Step 10: Step back and enjoy!
Congratulations! You now have a backyard garden bed! Isn't it cute?! Now you have lovely task of simply caring for your garden on a daily basis. Have fun and happy gardening!


May your garden be blessed and bear much fruit! :)
Do you know what part of this post made me the most excited? The fact that you used passers-by correctly. Sigh. It's like I can't turn that part of my brain off! I love it!
ReplyDeleteWhat a fantastic idea for a garden! I love it!
ReplyDeletehaha Theresa!! I love you!! Yea, the grammar nazi who dwells within me nver sleeps :)
ReplyDeleteBy the way... ^^^ that comment was made by me, CA, but I'm on hubby's computer hence logged into his account haha
ReplyDelete